
Why Do You Create Your Own Subrolls? ( nicer than bought from stores!)
Imagine wanting a deli-style sub stuffed with fresh vegetables, cheeses, and meats. You grab a store-bought sub roll expecting perfection only to discover it is dry, crumbly, and utterly disappointing. Not too unfamiliar?
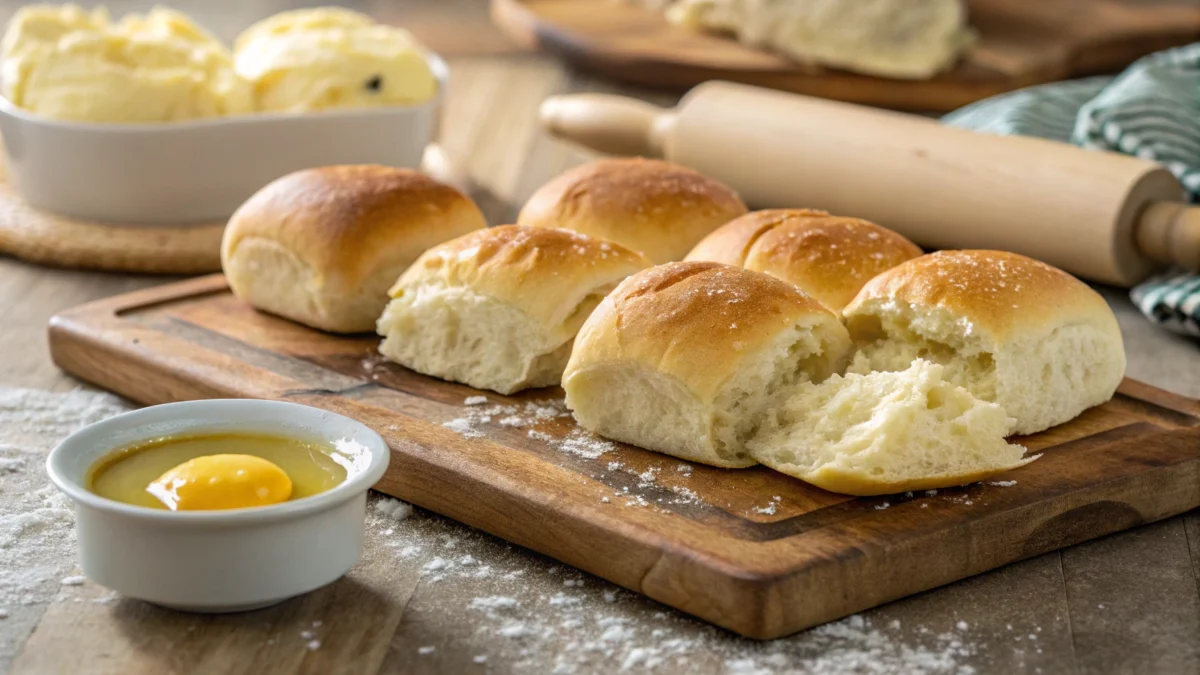
Creating subrolls from scratch is a transformative experience. Made from scratch, homemade rolls have a soft, pillowy feel, a somewhat crunchy exterior, and just the ideal degree of chewiness. You also control the components; there are no preservatives—just pure, fresh excellence.
Freshness That You Can Taste
Store-bought subrolls laced with preservatives lie on shelves for days. Homemade ones? Just out of the oven, your kitchen smells like that enticing bakery.
Personalizing Is Essential
Are whole wheat subrolls something you want? Alternatively, a trace of honey for sweetness? Perhaps on top of a scattering of sesame seeds? At home, baking allows you to experiment!
The Perfect Harmony between Chewy and Soft
A superb subroll should be strong enough to hold up to fillings while soft inside. Made-from-scratch sub rolls provide that harmony—something store-bought ones usually lack.
“Good bread is the most essentially satisfying of all foods; good bread with fresh butter is the greatest of feasts.” James Beard
convinced? nice! Let us now dissect the requirements for beginning.
Important Ingredients for Perfect Sub Rolls
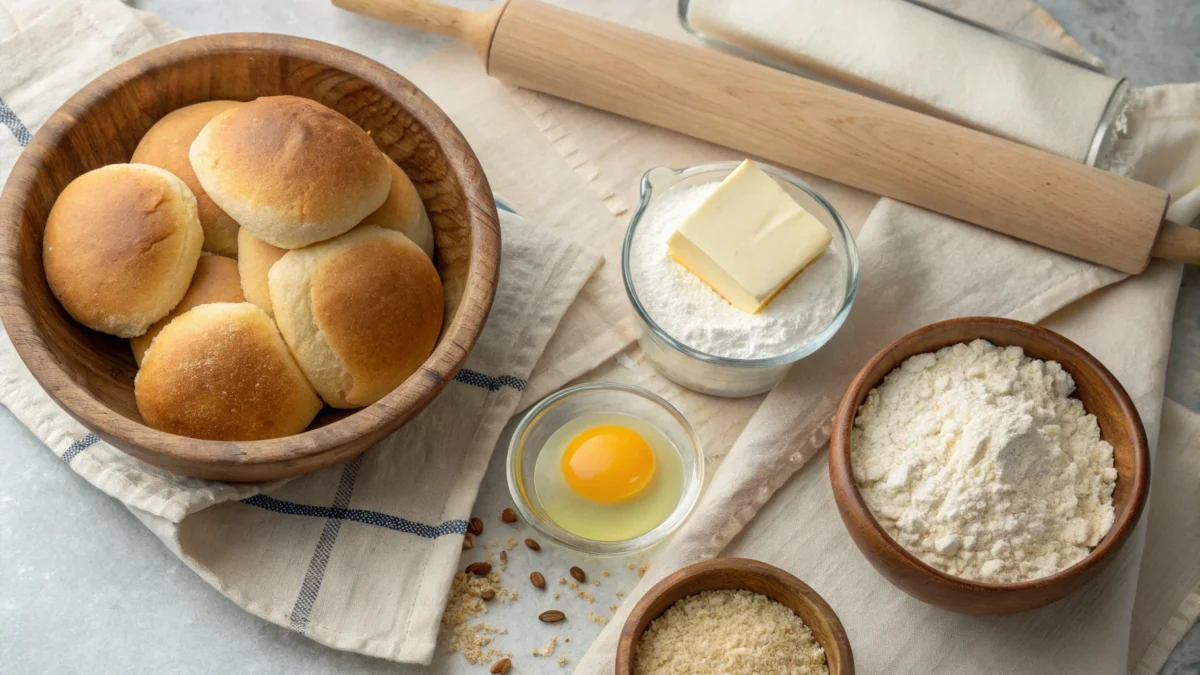
You really need to know your components before you start kneading dough. The perfect mix guarantees smooth, savory, golden brown subrolls.
| Ingredient | Why It’s Important |
|---|---|
| Bread Flour | High protein for a chewier texture |
| Instant Yeast | Helps the dough rise faster |
| Warm Water | Activates the yeast |
| Milk | Adds softness and a slight sweetness |
| Sugar | Feeds the yeast and enhances flavor |
| Salt | Balances flavor and strengthens gluten |
| Butter or Oil | Keeps the rolls moist |
| Egg | Gives structure and a golden crust |
Every ingredient contributes to providing that subroll texture reminiscent of a bakery. What happens, though, if you substitute another flour or yeast? Let us dissect it still more.
Bread Flour: Comparatively to All-Purpose Flour
The type of flour you use can make or break your rolls.
- Bread flour has a higher protein content (about 12–14%), which helps create a chewy, airy texture.
- All-purpose flour has less protein (10-12%) and results in softer, less chewy rolls.
Pro Tip: Want something incredibly chewy? Keep on with bread flour!
The Function of Yeast: Active Dry vs. Instant
The magic underlying the fluffiness and rise of subrolls is yeast.
- Instant yeast doesn’t need to be activated separately—just mix it with dry ingredients.
- Active dry yeast requires proofing in warm water before use.
Choose quick yeast if you want dough with faster rising action. Use active dry yeast if you would rather go more conventional.
Milk, water, and fat: what gives rolls softness?
Ever wonder why homemade rolls are harder than bakery rolls? Mostly it’s about fat and hydration.
- Milk adds richness and softness, making the crumb tender.
- Water creates a lighter texture, making the rolls airier.
- Butter or oil keeps the dough moist, preventing dryness.
You get soft inside but strong enough subrolls from balancing these components to hold sandwich contents.
Essential Tools for Homemade Sub Rolls
Making subrolls doesn’t call for fancy tools; rather, a few basics simplify the operation.
- Mixing Bowls: For combining ingredients.
- Stand mixer with dough hook: saves time on kneading.
- Measuring Cups & Scale: Precision Matters!
- Bench Scraper: Helps with shaping.
- Baking Sheet & Parchment Paper—For even baking.
- Spray Bottle with Water: Creates steam for a better crust.
Let’s go right to the exciting part—baking—now that you have the correct tools and supplies.
Step-by-Step Guide: Scratch Sub Rolls from Beginning
Ready to create fluffy, soft sub rolls that surpass anything from the grocery store? Let’s leave now.
First step: getting ready the dough.
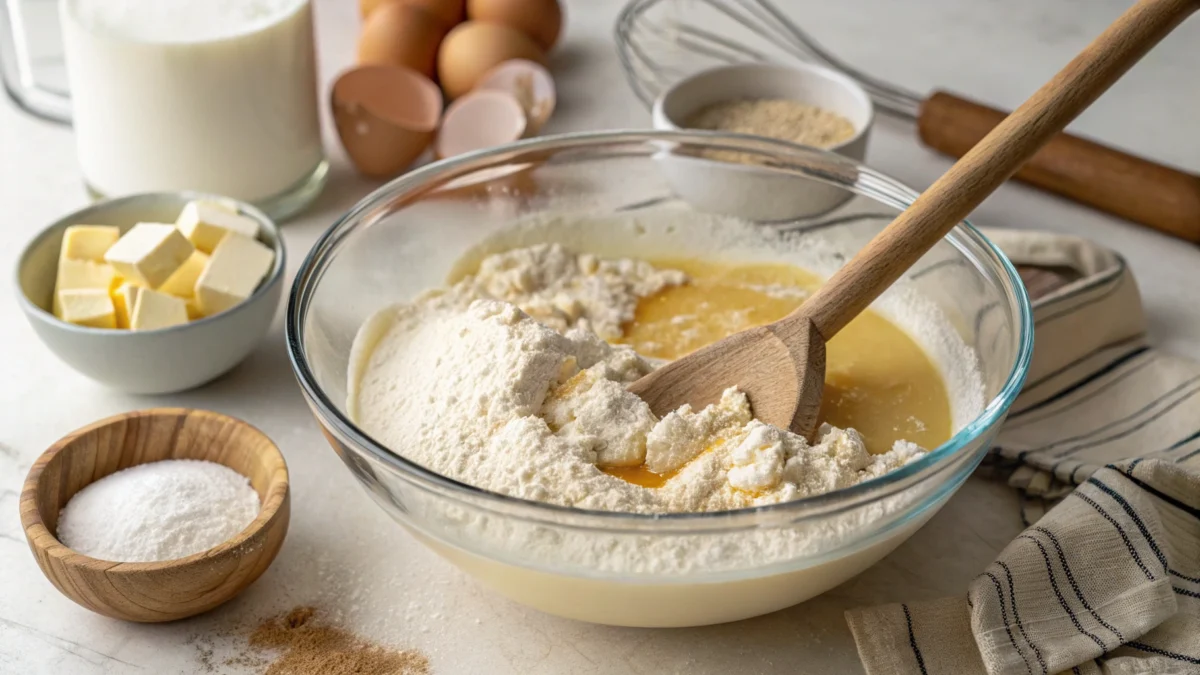
The ideal dough starts a beautiful subroll. Here is how to get it perfect:
- Activate the yeast. If using active dry yeast, dissolve it in warm water with sugar and let it foam for 5-10 minutes.
- Mix dry ingredients: In a large bowl, combine flour, salt, and sugar.
- Combine wet and dry. Add the yeast mixture (or instant yeast) and milk, then mix until a dough forms.
- Add butter. Knead in softened butter for extra softness.
The dough should feel just sticky, not unduly wet. Add one teaspoon of water at a time if the dryness is too great.
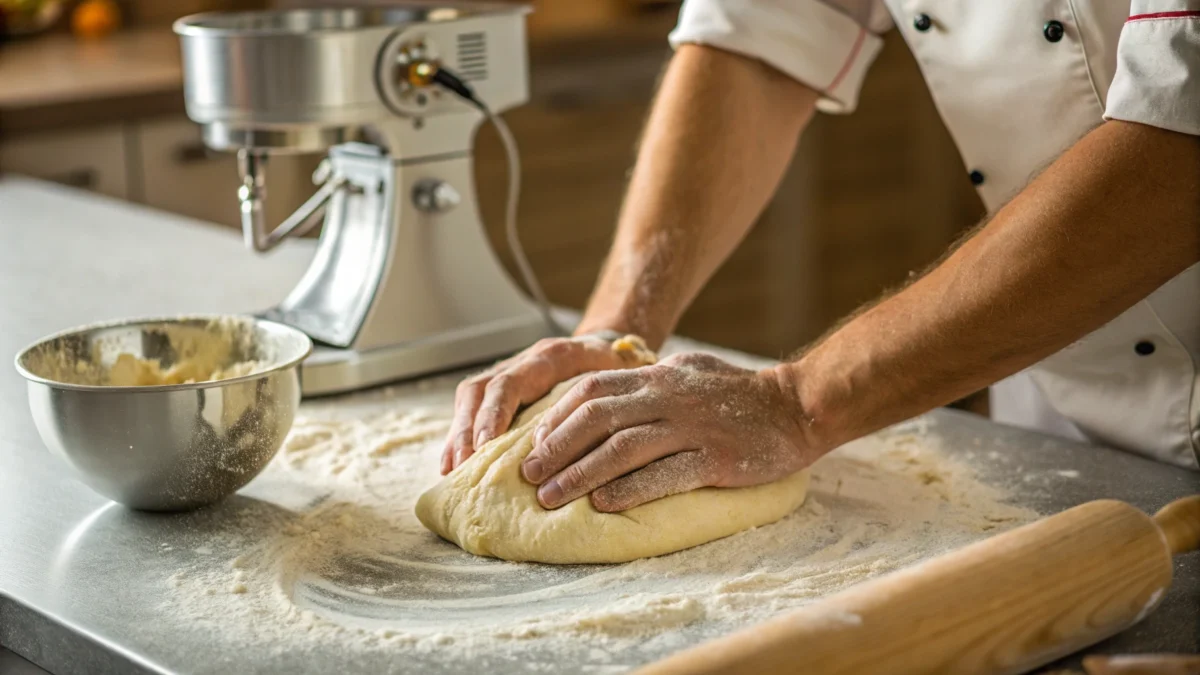
Second: Working on the ideal texture by kneading
The magic happens when you kneel. It generates gluten, which gives sub rolls their distinctive chewiness.
- By hand: Knead for about 10-12 minutes until smooth and elastic.
- With a stand mixer: Use the dough hook on medium speed for 7-8 minutes.
The dough is done if you can stretch it thin without tearing—the “windowpane test”—is how you know!
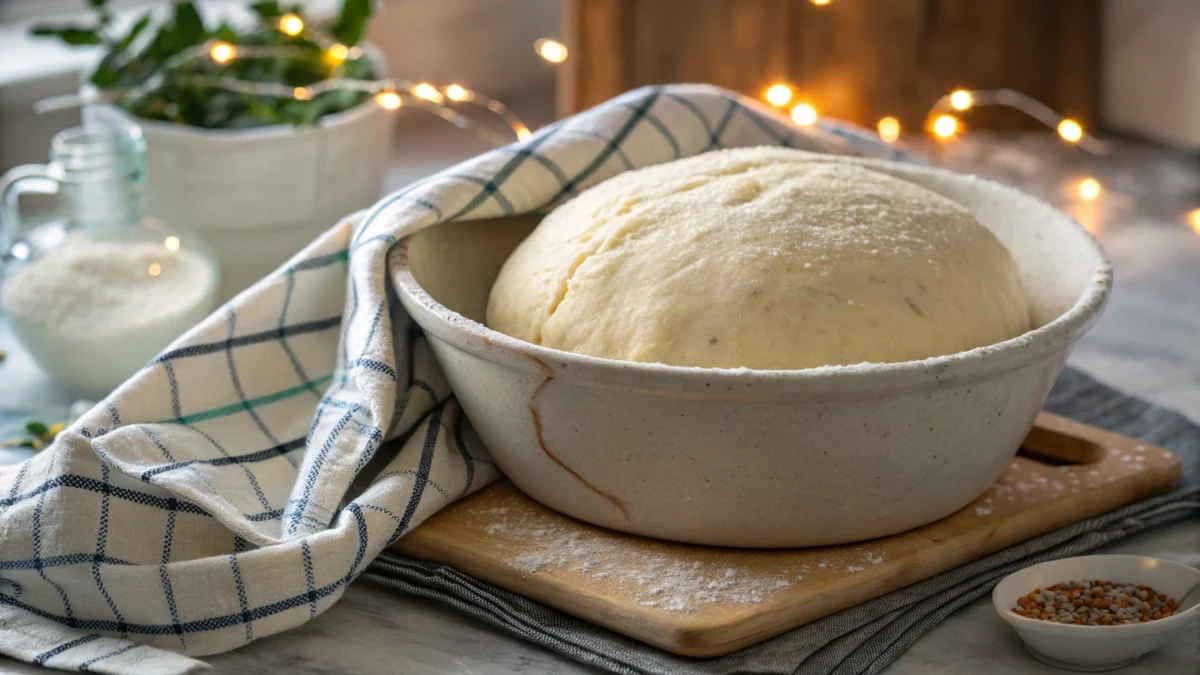
Third step: first rise—how long is enough?
Once kneaded, set the dough in a greased bowl, cover it, and let it rise.
- Ideal time: 60-90 minutes
- Best spot: A warm place (around 75-80°F)
- How to know it’s ready: It should double in size.
If your dough isn’t rising, don’t panic! Check if:
✅ Your yeast is fresh
✅ The environment is warm enough
✅ The dough has enough moisture
Your rolls won’t be light and fluffy if you rush this stage; patience is essential!
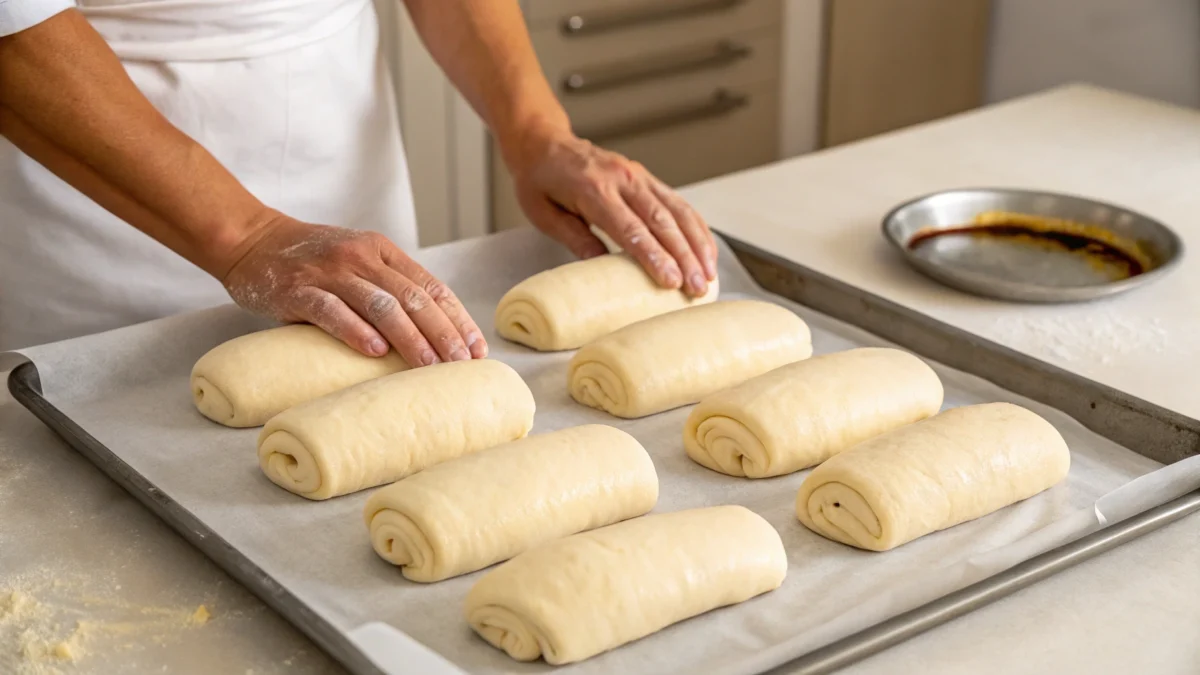
Fourth step: polishing your subrolls like a professional
Correct shaping of your rolls is absolutely essential. They will be dense if they are too tight; they will spread instead of rising correctly if they are too loose.
How should one shape the perfect subroll?
- Divide the dough. Turn the risen dough onto a floured surface. Use a bench scraper to divide it into 6-8 equal pieces.
- Shape each roll—flatten each piece into a rectangle, about 6 inches long. Roll it tightly from the long side, sealing the edges with your fingers.
- Tuck the ends: pinch the seams and slightly tuck the ends under to create a smooth shape.
- Rest the rolls. Place them on a parchment-lined baking sheet, leaving space between them for expansion.
Demand extra-smooth sub rolls? To help shape without adhering, gently dust your palms with flour.
Fifth Step: Second Rise—the Key to Airy Rolls
Just as vital as the first climb is the second. It allows your subrolls the opportunity to expand out and acquire their soft, airy feel.
- Cover the rolls—loosely drape plastic wrap or a towel over them.
- Let them rise—about 30-45 minutes in a warm spot.
- How to check readiness Press a roll gently with your finger. If the indentation slowly springs back, it’s ready!
The dough is overproofed if it deflates with contact. Less rise time the next time!
The sixth step is baking to golden perfection.
Let’s now make those nicely risen rolls into golden, bakery-style sub rolls.
How should one bake sub rolls?
- Preheat the oven. Set to 375°F (190°C) about 15 minutes before baking.
- Create steam. Place a small pan of hot water on the bottom rack. This helps develop a soft crust.
- Optional egg wash: Brush the tops with egg wash (1 beaten egg + 1 tbsp water) for a golden sheen.
- Bake for 15-18 minutes—until golden brown and slightly firm to the touch.
- Cool completely. Let them rest on a wire rack to prevent soggy bottoms.
Brush melted butter right away out of the oven for an extra-soft crust!
Typical Issues and fixes for rolling out sub rolls
Challenges abound even among the finest bakers. The following solves the most often occurring subroll issues.
Why Are My Sub Rolls Too Dense?
✅ Possible Cause: Over-kneading or not enough rise time.
💡 Solution: Let the dough rise fully and don’t overwork it.
How should one fix dry and crumbly rolls?
✅ Possible Cause: Too much flour or baking too long.
💡 Solution: Use a kitchen scale for precise flour measurements and remove rolls when golden.
How to have a perfectly golden, soft crust?
✅ Possible Cause: Lack of steam or skipping egg wash.
💡 Solution: Place a pan of water in the oven and always brush with egg wash.
My Dough Not Rising: Why Went Wrong?
✅ Possible Cause: Expired yeast or cold environment.
💡 Solution: Use fresh yeast and let dough rise in a warm place (around 75-80°F).
Troubleshooting helps you bake better. Till you polish your subroll, keep practicing.
Techniques for Using Homemade Sub Rolls Most Effectively
How will you use the perfectly made sub rolls now?
Traditional Sandwiches in Classic Deli Style
There is nothing better than a fresh sub roll loaded with turkey, ham, cheese, lettuce, and tomato!
Variations in Hot Subventions
🔥 Load with melted mozzarella and juicy meatballs for meatball subs.
🔥 Philly cheesesteaks have juicy steak, onions, and gooey cheese.
🔥 Chicken Parmesan Subs Crispy chicken, marinara, and parmesan cheese. (Learn more about the best parmesan cheese options!).
original ideas
- Breakfast Substitutes: bacon, scrambled eggs,
- Toast and brush with garlic butter using garlic bread rolls.
- Top with sauce, cheese, and pepperoni for little pizza subs!
Made-from-scratch sub rolls elevate any meal to gourmet level!
Freshness: Storing and Freezing Sub Rolls
Here’s how you keep your subrolls fresher for longer:
- Room Temperature: Store in an airtight bag for up to 3 days.
- Freezing: Wrap tightly in plastic and freeze for up to 3 months.
- Reheating: Warm in the oven at 350°F (175°C) for 5 minutes.
To get optimum results, slice before freezing for simple sandwich assembly!
Final Thoughts: Why You Will Not Purchase Store-Bought Again
You cannot undo after you have perfected homemade sub rolls! They’re:
soft, fresh, and tasty.
Easy made with basic ingredients
adaptable for sandwiches, subs, and more
What then should you be waiting for? Today grab your ingredients and begin making your own sub rolls.
Homemade Sub Rolls

These homemade sub rolls are soft, chewy, and perfect for sandwiches. Easy to make and delicious!
- Mixing Bowl
- Baking Sheet
- Oven
Dough Ingredients
- 1 cup warm water (about 110°F (43°C))
- 2 1/4 tsp active dry yeast
- 2 tbsp sugar
- 3 cups bread flour (plus extra for dusting)
- 1 tsp salt
- 2 tbsp olive oil
In a mixing bowl, combine warm water, yeast, and sugar. Let sit for 5-10 minutes until frothy.
Add flour, salt, and olive oil. Mix until combined.
Knead for 8-10 minutes until smooth and elastic.
Place dough in a greased bowl, cover, and let rise for 1 hour or until doubled in size.
Divide dough into 6 equal portions and shape into rolls.
Place on a baking sheet and let rise for another 30 minutes.
Preheat oven to 375°F (190°C). Bake for 15 minutes or until golden brown.
For a softer crust, brush with melted butter after baking.

1 thought on “sub rolls”